Levitation
- Jenelle Flores
- Mar 3, 2025
- 2 min read

For this project, I used a camera mounted on a tripod to ensure stability and consistency between shots. The tripod was essential because any movement of the camera between photos would make editing much more difficult when removing the supporting prop.

I considered several factors when choosing the location for my levitation photo. First, I made sure the space was good. I also looked for a background that wasn’t too busy. Most importantly, I ensured that the camera was set up in a secure position on the tripod and wouldn't move between shots, making it easier when editing.
To create the illusion of levitation, I used a chair as a support for the subject. The person posing sat, lay, and stood on the chair in different positions to mimic a floating effect. After taking the main shot with the subject and the chair, I took another picture without the subject and chair in the frame. This second image served as the “clean plate” for editing, allowing me to remove the chair in Photoshop while maintaining the original background.
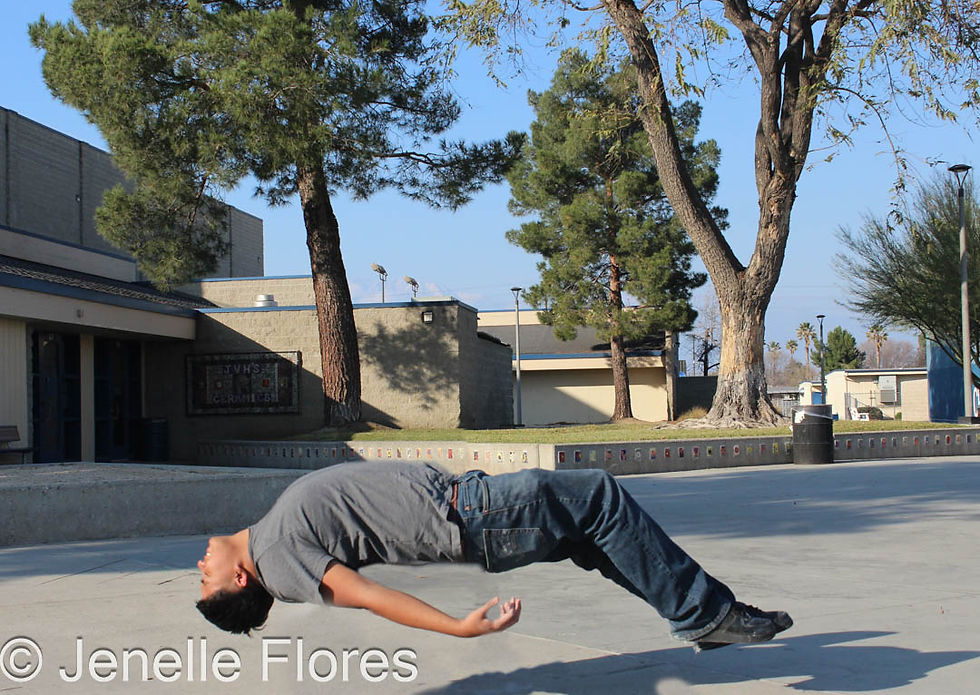
Yes, the picture successfully created the illusion of levitation. The subject appeared to be floating naturally, and the lighting and background helped enhance the realism of the effect. During the editing process, I was able to remove the chair well.

Although the picture turned out well, I would like to experiment with different poses to create a more interesting picture. For example, I could have the subject interacting with objects in the scene or adding more props, like a book. I would also pay close attention to lighting and shadows to ensure that they match the levitation effect more.
Overall this assignment was very interesting and fun!


Comments